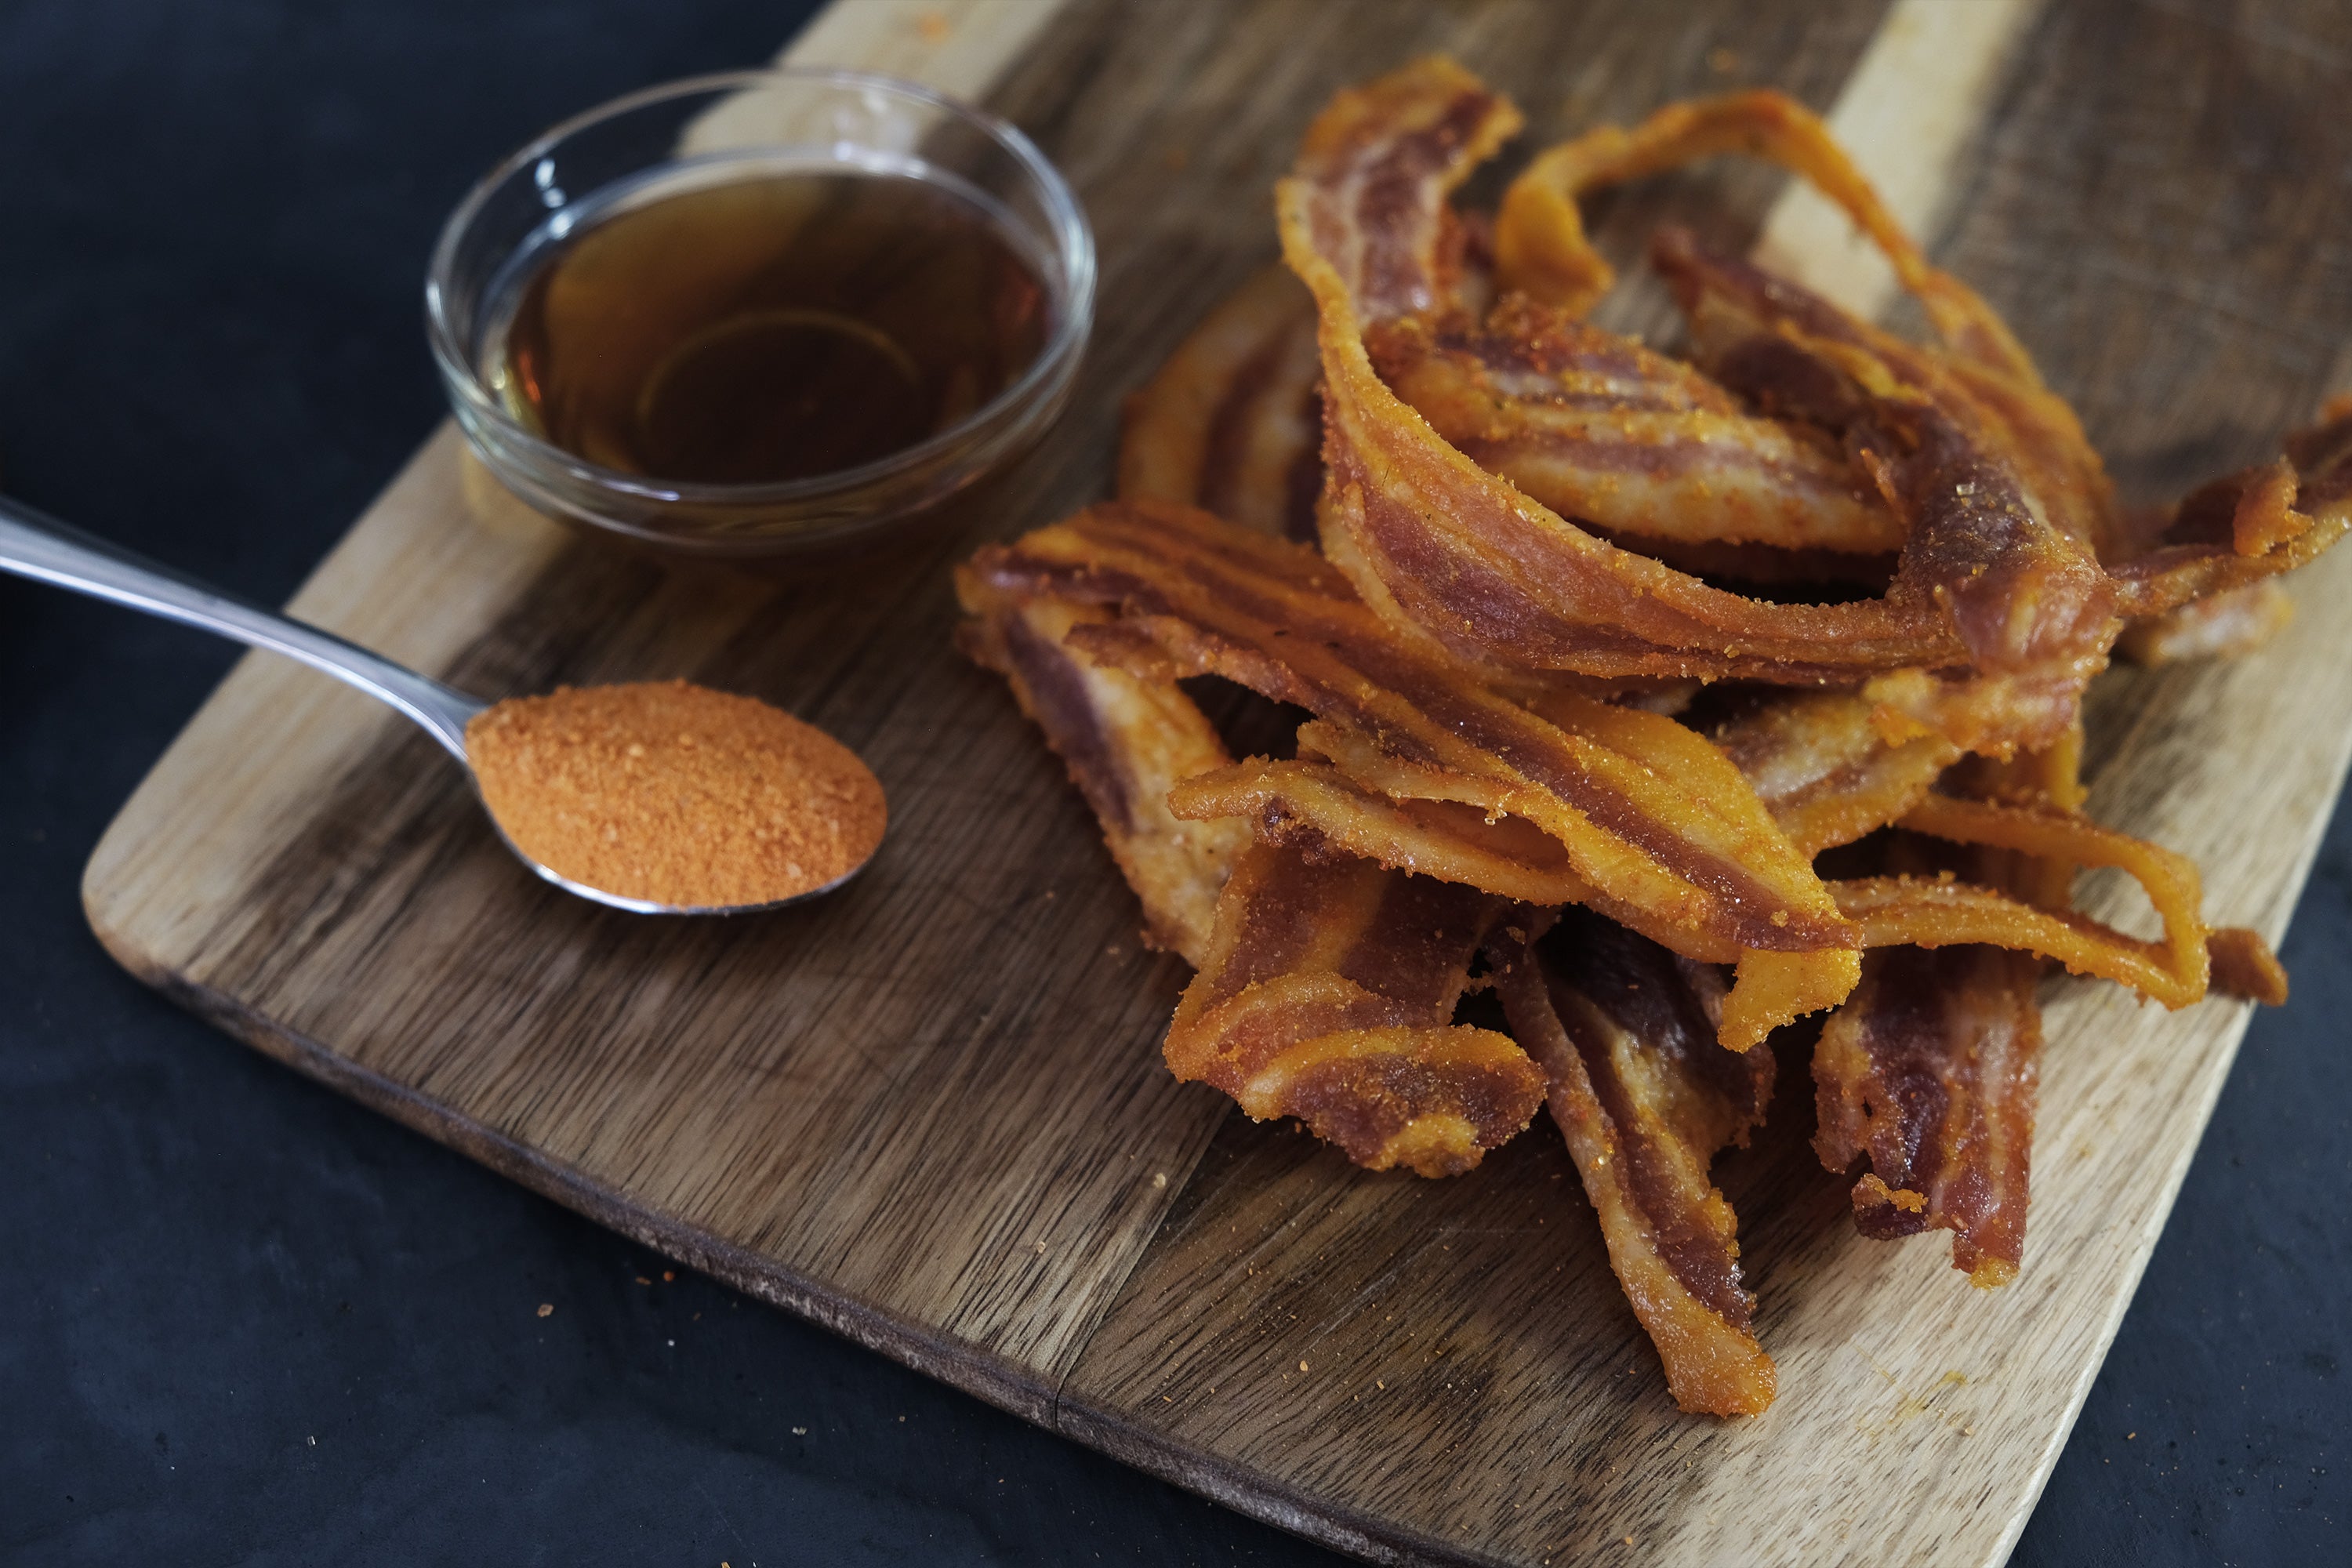
Hey there, snack lovers! If you’re on the hunt for a munchie that’s equal parts salty sweet and smoky, then lemme put you onto somethin’ special—honey glazed bacon biltong. This ain’t your average jerky or boring ol’ bacon strip. Nah, this is a South African-inspired treat that’s gonna have your taste buds doin’ a happy dance. I’ve been tinkering with this recipe for a hot minute, and trust me, once you make it, your crew will be hounding you for more.
At its core, biltong is air-dried, cured meat with roots in South Africa, kinda like beef jerky but with a chewier vibe and deeper flavor. Swap out the usual beef for bacon, slap on a sticky honey glaze, and you’ve got a next-level snack that’s perfect for chompin’ on solo or jazzin’ up a dish. In this guide, we at SnackShack Central are walkin’ you through every darn step to make honey glazed bacon biltong right in your kitchen. No fancy gear needed, just some patience and a love for good eats. Let’s dive in!
What the Heck Is Honey Glazed Bacon Biltong?
Before we get our hands messy, let’s break it down real quick. Traditional biltong is made from beef or game meat, sliced thin seasoned with a salty-spicy cure, and hung to dry for days till it’s chewy and packed with flavor. It’s a protein punch that’s been keepin’ folks fed for centuries. Now when you use bacon instead, you’re crankin’ up the richness with that smoky, fatty goodness. Add a honey glaze, and it’s like a sweet hug to all that savory—pure magic, I’m tellin’ ya.
Why bother makin’ it yourself? ‘Cause store-bought jerky can’t hold a candle to this. You control the flavors, tweak the sweetness or heat, and get to brag about craftin’ somethin’ artisanal Plus, it’s a fun lil’ project that don’t require no culinary degree Whether you’re a biltong newbie or a bacon fanatic, this recipe’s gonna be your new obsession.
What You’ll Need to Whip Up This Treat
Let’s start with the basics. You don’t need a ton of stuff to make honey glazed bacon biltong, just a few key ingredients and some simple tools. Here’s the rundown:
- Bacon Slices: Go for high-quality stuff, y’know? I like applewood smoked for that extra oomph. Thick-cut works if you’re patient, but thin slices dry faster. Grab about 1 kg (or 2 lbs) to start.
- Honey: The star of the glaze! Pick a sweet variety like wildflower or clover. You’ll need ‘bout ½ cup for the glaze, plus a lil’ extra if you’re feelin’ wild.
- Brown Sugar: Light or dark, don’t matter much. This adds depth to the sweetness. ‘Round ¼ cup should do it.
- Spices: We’re talkin’ black pepper (1-2 tsp), paprika (1 tsp), cayenne for a kick (½ tsp or more if you spicy), garlic powder (1 tsp), and onion powder (1 tsp). Adjust to your taste, fam.
- Curing Salt: This ain’t regular table salt. It’s key for preservin’ the meat and givin’ that biltong tang. Half a tsp is plenty—get it from a butcher shop or online.
- Apple Cider Vinegar: A splash (¼ cup) for the cure mix to balance flavors and help preserve.
- Soy Sauce & Worcestershire Sauce: Optional, but a couple tbsp of each adds a savory punch to the cure.
- Drying Setup: You’ll need drying racks (or improvise with oven racks), a small box fan or clip-on fan for airflow, and butcher twine if you’re hangin’ it old-school.
- Baking Sheets & Parchment Paper: For preppin’ and catchin’ drips.
- Small Saucepan & Bowls: For mixin’ up that glaze and spice blend.
Got all that? Sweet! Most of this is prob’ly in your pantry already, and the rest ain’t hard to snag. Now, let’s get to the fun part—makin’ this bad boy.
Step-by-Step: Craftin’ Honey Glazed Bacon Biltong
I’m gonna walk ya through this nice and slow, ‘cause rushin’ ain’t the vibe here. Biltong is all ‘bout patience, and trust me, the wait pays off. Follow these steps, and you’ll have a batch of honey glazed bacon biltong that’s straight-up addictive.
Step 1: Prep That Bacon Like a Pro
First things first, let’s get the bacon ready. If you’ve got thick slices, cut ‘em in half lengthwise so they’re thinner—aim for about ¼ inch thick if you can. Thinner strips dry quicker and cure more even. Lay ‘em out in a single layer on a baking sheet with parchment paper. Pop that tray in the freezer for 1-2 hours till the bacon firms up but ain’t frozen solid. This makes it easier to handle when we coat it later. Pro tip: trim off excess fat if it’s super fatty, ‘cause too much grease can mess with drying.
Step 2: Mix Up a Killer Cure Blend
While the bacon’s chillin’ (literally), let’s whip up the cure mix that’ll give it that biltong soul. In a small bowl, toss together:
- ¼ cup brown sugar
- 1 tbsp salt
- ½ tsp curing salt
- 1 tsp black pepper
- 1 tsp garlic powder
- 1 tsp onion powder
- 2 tbsp soy sauce (optional)
- 3 tbsp Worcestershire sauce (optional)
Stir it good, then add ¼ cup apple cider vinegar to the mix. This blend draws out moisture, preserves the meat, and layers in flavor. Set aside a small bit (like ¼ cup) of this mix for the glaze later. Easy peasy!
Step 3: Cure the Bacon Overnight
Take your firmed-up bacon out the freezer and place it in a shallow glass or ceramic dish. Using your hands or a brush, slather that cure mix all over each strip. I mean, really get in there—coat both sides so it soaks in nice. Cover the dish with plastic wrap or a lid, and chuck it in the fridge for 12-24 hours. Flip the strips halfway through if you remember, so it cures even. This long soak makes sure the bacon’s preserved and flavored to the core.
Step 4: Cook Up That Honey Glaze
Now for the sweet stuff! In a small saucepan, combine:
- ½ cup honey
- ¼ cup brown sugar
- 2 tbsp water
Heat it over medium, stirrin’ often, till it starts to bubble gently. Turn down the heat and let it simmer for 2-3 minutes till it thickens a tad. Take it off the heat and mix in:
- 1 ½ tsp black pepper
- 1 tsp paprika
- ½ tsp cayenne (or more if you’re a heat freak)
If you kept some cure mix aside, toss that in too for extra depth. Let this glaze cool a bit—it’ll thicken more as it sits. This sticky goodness is what makes the biltong pop!
Step 5: Double-Coat for Max Flavor
After curin’, pull the bacon outta the fridge and pat it dry with paper towels on a fresh baking sheet. We’re double-dippin’ now for insane taste. First, sprinkle or dip each strip in a dry spice mix (1 tbsp brown sugar, ½ tsp curing salt, 1 tsp garlic powder if you wanna make a lil’ extra batch). Press it in so it sticks, then shake off excess. Next, dunk or brush on that honey glaze, coverin’ every inch. Let extra glaze drip off, then lay the strips back on the sheet. Repeat till all your bacon’s coated and lookin’ luscious.
Step 6: Hang and Dry Like a Boss
Time to turn bacon into biltong! You gotta hang these strips so air circulates all ‘round ‘em. Set up drying racks or biltong racks if you got ‘em—oven racks work in a pinch. Arrange the glazed strips in a single layer, makin’ sure they ain’t touchin’ or overlappin’. Position a small fan (like a box fan) to blow gentle air over ‘em. Hang the racks in a dry, well-vented spot—garages or enclosed porches are dope for this. Use butcher twine to suspend ‘em from hooks or rafters, and put a tray underneath to catch drippy bits.
Keep the temp ‘round 60-75°F if you can. The fan helps prevent mold and speeds dryin’. This part takes 2-5 days, dependin’ on humidity, bacon thickness, and how chewy you like it. Check daily, brush off any sugar or spice buildup on the racks, and start testin’ after day 3. It’s ready when it’s firm outside, chewy inside, and lost ‘bout half its weight. The glaze should be tacky, not gooey. Patience, my friend—this ain’t no microwave meal!
Step 7: Slice and Snack, Baby!
Once it’s hit that perfect texture, take the biltong off the racks and chop it into bite-sized pieces or strips, whatever floats yer boat. Congrats—you’ve just made honey glazed bacon biltong that’s gonna disappear fast! Store it in an airtight container or bag at room temp for 2-4 weeks. Wanna keep it longer? Fridge or freezer it up. Now, let’s talk how to enjoy this masterpiece.
Ways to Savor Your Biltong
This ain’t just a snack, it’s a freakin’ flavor bomb you can use all kinda ways. Here are some ideas to get ya started:
- Straight-Up Snackin’: Grab a piece and chew away. It’s protein-packed and perfect for on-the-go munchies.
- Salad Topper: Crumble it over greens for a sweet-salty crunch that’ll make any salad pop.
- Sandwich or Wrap Upgrade: Toss chopped bits into wraps or sammies for a smoky kick.
- Cheese Board Fancy: Pair it with cured meats, aged cheeses, and crackers for a bougie appetizer spread.
- Breakfast Boost: Sprinkle into omelets or breakfast tacos for a mornin’ protein hit.
- Party Pleaser: Lay out sticks on a snack plate with nuts and dried fruit—crowd’ll go nuts!
However you eat it, that honey glaze mixin’ with the bacon’s smokiness is gonna be a game-changer. I’ve seen folks get downright addicted to this stuff at gatherings, so make extra!
Tips to Nail It Every Time (And Avoid Epic Fails)
I’ve botched a batch or two in my day, so lemme save you some headaches with these pointers. Trust, they’re worth readin’:
- Pick the Right Bacon: Leaner smoked bacon dries better—too much fat can make it soggy. Thin slices cure quicker, but thick ones work if you got time.
- Glaze It Good, But Not Too Much: Slather on an even layer of honey glaze, but don’t drown it. Too much can stay sticky and attract mold.
- Airflow Is Everything: Make sure air circulates free ‘round each strip. Turn ‘em halfway if you notice uneven dryin’. No fan? Rig up somethin’ to keep air movin’.
- Don’t Over-Dry: Check often after day 2. You want chewy, not brittle. Overdo it, and it’s like eatin’ cardboard, ugh.
- Watch for Mold: If humidity’s high, mold can creep in. Keep that fan goin’ and temp steady. Spot somethin’ fuzzy? Toss that piece, don’t risk it.
- Play with Flavors: Wanna switch it up? Add chili powder to the glaze for heat, or a splash of citrus juice for zing. Make it yours!
One more thing, if you’re new to this, don’t stress if it ain’t perfect first try. Took me a couple rounds to get the drying just right, but each batch taught me somethin’. Keep at it, and you’ll be a biltong boss in no time.
What Could Go Wrong? Troubleshootin’ Yer Biltong
Even with the best plans, stuff can go sideways. Here’s a quick cheat sheet for common hiccups I’ve run into, and how to fix ‘em up:
| Problem | Why It Happens | How to Fix It |
|---|---|---|
| Biltong’s too wet/sticky | Not enough drying time or poor airflow | Hang longer, boost fan speed, or move to drier spot. |
| Too tough or brittle | Over-dried beyond chewy stage | Check earlier next time, aim for 2-3 days first. |
| Mold on strips | High humidity, no air circulation | Toss affected pieces, increase fan, lower temp. |
| Glaze won’t stick | Bacon too wet before glazin’ | Pat dry thoroughly after curing, then glaze. |
| Flavor’s off or bland | Cure didn’t penetrate or not enough spice | Cure longer (24 hrs), up the spice amounts. |
Don’t let these scare ya—they’re rare if you follow the steps. Just keep an eye out, and adjust as you go. Cookin’ is half science, half gut feelin’, right?
Why Honey Glazed Bacon Biltong Is Worth the Hassle
Look, I get it—waitin’ days for a snack sounds like a drag when you can grab chips in two seconds. But hear me out. Makin’ honey glazed bacon biltong ain’t just ‘bout the end result (though that’s heckin’ tasty). It’s ‘bout the process, the pride of DIY, and knowin’ exactly what’s in your food. No weird preservatives or mystery junk—just bacon, honey, and spices you picked. Plus, it’s a convo starter. Tell your pals you cured your own meat, and watch their jaws drop.
Nutrition-wise, it’s a solid pick too. Biltong’s loaded with protein, got some vitamins and minerals, and the fat’s reasonable if you trim the bacon right. The honey adds sugar, sure, but it’s natural sweetness, not processed crap. Keep a stash for road trips, post-workout bites, or late-night cravings. It’s way better than junk food, hands down.
Customizin’ Your Biltong Vibes
One of the dopest things ‘bout this recipe is how you can tweak it to match your mood. I’ve played ‘round with flavors over time, and here’s some twists you might dig:
- Spice It Up: Toss extra cayenne or chili powder in the glaze if you like a fiery kick. Heck, even a dash of hot sauce works.
- Sweet Overload: Up the honey or mix in maple syrup for a candy-like glaze. Careful not to overdo it, tho, or it won’t dry right.
- Herby Twist: Add dried herbs like thyme or rosemary to the cure mix for an earthy vibe. Smells amazing while drying!
- Citrus Zing: A tbsp of lemon or orange juice in the glaze cuts through the richness. Sounds weird, tastes amazin’.
Experiment, fam. Worst case, you learn what don’t work. Best case, you invent a flavor combo that’s all yours. I once threw in some smoked paprika by accident and ended up lovin’ it—happy mistakes for the win!
A Lil’ History to Chew On
While we’re at it, let’s chat ‘bout where biltong comes from, ‘cause it’s got a cool backstory. Way back, South African folks needed a way to preserve meat without fridges, especially on long treks or hunts. They’d slice up beef or game, rub it with salt and spices (often vinegar too), and hang it to dry in the sun or wind. The result was biltong—portable, long-lastin’, and full of flavor. The name itself comes from Dutch words meanin’ “rump strip,” which is kinda funny when you think ‘bout it.
Usin’ bacon is a modern spin, but the heart’s the same—preservin’ meat with care and turnin’ it into somethin’ special. Addin’ honey glaze? That’s just us gettin’ fancy, bringin’ a sweet twist to an old-school method. I love how food like this connects us to history while lettin’ us play with new ideas.
Wrappin’ It Up With a Bow
So there ya have it, the full scoop on how to make honey glazed bacon biltong that’ll have everyone beggin’ for your secret. From pickin’ the right bacon to mixin’ that sticky glaze, hangin’ it to dry, and finally bitin’ into that sweet-salty chew, it’s a journey worth takin’. We at SnackShack Central believe anybody can pull this off with a lil’ time and elbow grease. Don’t be shy to mess up a bit—learnin’ is half the fun.
Got a batch dryin’ right now? Drop a comment with how it’s goin’, or any funky flavors you’re tryin’. I’m always down to swap ideas or troubleshoot if your biltong’s actin’ up. And hey, if this guide helped ya out, share it with a buddy who loves snacks as much as we do. Let’s spread the biltong love far and wide, y’all! ‘Till next time, keep snackin’ and experimentin’ in that kitchen of yours.
HOT & CHILLED DRINKS
Served & charged per person. Unfortunately, sharing is not allowed.
^Subject to availability, *May contain nuts, **Contains nuts, øExcluded from HealthyDining
Our cakes, pies, tarts & muffins are freshly baked on site by our skilled Master Bakers with delicious locally sourced ingredients, so that you always get a taste of home. As everything is fresh, our selection may vary. If your favourite isn’t available today, how about trying something new?
^Subject to availability, *May contain nuts, **Contains nuts, øExcluded from HealthyDining
How To Make Bacon Biltong At Home | Experiment by Xman & Co
FAQ
How to make honey glazed bacon?
- Pre-heat the oven to 180°c.
- Place the bacon on a non-stick baking sheet then drizzle over the honey.
- Place in the oven and allow to roast for 10-15 minutes until the bacon is cooked and the honey has started caramelising.
What is bacon biltong?
This mildly Streaky Barbeque Pork Bacon Biltong is made of smoked and cured pork belly, mildly spiced with a barbeque sprinkle.
How to make biltong without a machine?
This is normal as a South African. Just use coriander seeds, salt and pepper. Then just dip the whole cut into vinegar then roll it in the seasoning. Then place in a air tight box or marinating bag for 2-4 hours. Then hang. Eat after 72 hours and it will be exactly what you want.
How to store bacon biltong?
Keep biltong in a dry, cool place — As a meat product, biltong should be stored at low temperatures to prevent spoilage and prolong the flavour.