Hey there, gearheads and weekend wrench-turners! Ever rolled up to a car meet and spotted a sweet ride, only to cringe at them jacked-up fenders lookin’ like strips of overcooked bacon? Yup, I’m talkin’ about “bacon fenders”—those warped, rippled, or cracked panels that can turn your prized ride into an eyesore faster than you can say “burnout.” I’ve been there, man, starin’ at my old beater with fenders so wavy they could pass for a breakfast plate. But don’t sweat it! Fixin’ bacon fenders ain’t as tough as it looks, and I’m gonna walk ya through it step by step with some down-and-dirty tips from my own garage mishaps.
In this guide, we’re gonna break down what bacon fenders are, why they happen, and how you can get ‘em smoothed out without breakin’ the bank. Whether you’re dealin’ with a lil’ scratch or a full-on crumpled mess, I got your back. So grab a cold one, throw on them work gloves, and let’s get your car lookin’ slick again!
What the Heck Are Bacon Fenders, Anyway?
Alright, if you’re scratchin’ your head wonderin’ why we’re talkin’ breakfast when it comes to cars, lemme clear it up real quick. “Bacon fenders” is just a funny way us car folks describe fenders—usually the rear quarter panels—that have gone all wavy, rippled, or warped. They look like strips of bacon fresh outta the fryer, all crinkly and uneven. It’s a common issue, ‘specially on older rides or cars that’ve taken a few bumps over the years. Trust me, I’ve seen plenty of classics with this problem, and it just kills the vibe of an otherwise dope machine.
These fenders get messed up from all kinda stuff which we’ll dig into next. But for now, just know that bacon fenders ain’t just ugly—they can mess with your car’s alignment or even hide deeper damage. Fixin’ ‘em up is about more than looks; it’s about keepin’ your ride safe and solid.
Why Do Fenders Turn Into Bacon? The Culprits Behind the Crunch
Before we get to the fix, let’s figure out why your fenders look like they belong on a diner menu. I’ve banged up enough cars in my day to know there’s a few usual suspects:
- Metal Fatigue: Over time, them fenders take a beating from vibrations, road stress, and just plain old age. The metal gets tired—kinda like me after a long day—and starts to warp.
- Rear-End Smacks: Even a tiny fender bender (pun intended) can ripple them panels. I once backed into a pole goin’ 5 mph, and boom, instant bacon vibes on my rear fender.
- Shoddy Fixes: If someone patched up your car before and did a half-ass job, that old repair might start warpin’ again. Cheap materials or bad technique? Recipe for disaster.
- Lowered Rides: Droppin’ your car for that sick stance looks cool, but it puts extra stress on fenders that weren’t built for it. Friction from tires rubbin’ can heat ‘em up and distort ‘em.
- Rust and Moisture: Rain, snow, road salt—they’re all out to get your car. Corrosion eats away at the metal, makin’ it weak and prone to crumplin’.
Once that ripplin’ starts it’s like a bad rumor—it spreads if you don’t nip it quick. So let’s check out how to spot the damage before it gets outta hand.
Assessin’ the Damage: How Bad Are Your Bacon Fenders?
First things first, ya gotta know what you’re dealin’ with. Park your ride somewhere with good light—maybe your driveway or garage—and take a real close look. I remember the first time I noticed my fenders were off; I just ran my hand over ‘em and felt all kinda weird bumps. Here’s what to check for:
- Visible Waves: Squint along the fender. See any peaks and valleys? That’s your bacon right there.
- Feel for Wrinkles: Run your hand over the panel. Sometimes you’ll feel uneven spots before you see ‘em.
- Size of the Damage: Is it just a small spot, or does half the fender look like it’s been through a blender?
- Cracks or Holes: Peek for any splits or gaps in the metal. Pro tip: grab a magnet and slide it over. If it sticks, you’re good; if it falls off, you got a hole or thin spot.
- Alignment Issues: Stand back and eyeball both sides of the car. Does one fender look outta whack compared to the other? Might mean deeper structural probs.
Figurin’ out the extent of the mess helps you decide if this is a weekend DIY or if you’re callin’ in the big guns Minor ripples or scratches? We can handle that Big ol’ warps or rust holes? Might need a pro. Next up, let’s gather the gear to tackle this.
Gearin’ Up: Tools and Stuff You’ll Need to Fix Bacon Fenders
Aight, you ain’t fixin’ no fender with just a hammer and a prayer. I learned that the hard way when I tried poundin’ out a dent with whatever was lyin’ around. Here’s a rundown of what you’ll need to get them fenders back in shape. I’ve tossed it into a table so you can make a quick shoppin’ list.
| Tool/Material | What It’s For | Why You Need It |
|---|---|---|
| Sandpaper (80 to 2000+ grit) | Smoothin’ out rough spots and preppin’ paint | Start coarse, finish fine for a slick look |
| Body Filler (like Bondo) | Fillin’ in dents, cracks, or gaps | Rebuilds the shape of your fender |
| Primer | Preps the surface for paint | Makes paint stick and last longer |
| Touch-Up Paint | Matches your car’s color for a seamless fix | Don’t skimp—get enough for multiple coats |
| Heat Gun or Propane Torch | Softens metal to reshape it | Makes tappin’ out ripples easier |
| Body Hammer and Dolly | Gently taps out waves and dents | Precision tool for flattenin’ without cracks |
| Stud Welder (optional) | Pulls out deep dents | Handy for bigger distortions |
| Masking Tape & Plastic | Protects the rest of your car from overspray | Keeps paint where it belongs |
| Respirator Mask | Safety first—protects from dust and fumes | Don’t breathe in sandin’ dust or paint |
| Sanding Blocks & Putty Knives | Applies filler and smooths it out | Helps get that even finish |
Make sure you got all the right grits of sandpaper—start with the rough stuff and work up to super fine. And don’t cheap out on paint; get the factory color match if you can. I once used some off-brand junk and ended up with a fender that looked like a bad tan job. Lesson learned.
Step-by-Step: Fixin’ Them Bacon Fenders at Home
Now we’re gettin’ to the good part—rollin’ up them sleeves and fixin’ this mess. I’m gonna break this down real simple, based on a moderate level of damage. If your fender’s just got mild ripples or scratches, you can skip some steps. If it’s totally trashed, we’ll talk about when to throw in the towel later. Here’s how I’ve done it, mistakes and all:
- Prep Your Workspace: Clear out a spot in the garage or driveway. Lay down some drop cloths if you’re messy like me. Good lightin’ is key—you don’t wanna miss a spot.
- Sand Down the Damage: Grab that 80-grit sandpaper and go to town on the messed-up area. Get rid of rust, old paint, and jagged edges. I usually work in circles so I don’t gouge the metal. Step up to finer grits—400, 800, even 1500—to smooth it out. Wipe off the dust with a rag.
- Heat and Tap (If Needed): If the fender’s got waves, use a heat gun to warm the metal. Don’t overdo it—just enough to make it pliable. Then, with a dolly behind the panel for support, tap gently with a body hammer. I messed this up once by hittin’ too hard and stretchin’ the metal. Go slow, light taps, flattenin’ bit by bit.
- Pull Out Dents (Optional): For deeper dents, a stud welder can pull the metal back out. If you ain’t got one, sometimes you can push from behind with a rubber mallet. Be patient—don’t force it.
- Apply Body Filler: Mix up some Bondo or filler on a board, and spread it thin over dents or low spots with a putty knife. I always do thin layers, lettin’ each dry before addin’ more. Once it’s hard, sand it down smooth. Check with your hand to make sure it matches the fender’s curve.
- Prime the Area: Clean off grease or wax with a remover, then hit it with 2-3 coats of primer. Let each coat dry, and sand lightly with 600-grit between ‘em for that ultra-smooth finish. I forgot to sand once, and my paint job came out bumpy as hell. Don’t skip this.
- Paint It Up: Mask off the rest of your ride with tape and plastic—trust me, overspray sucks to clean. Mix your touch-up paint and apply 3-5 thin coats, lettin’ each dry. Feather the edges by extendin’ the paint a bit further each time so it blends with the old stuff.
- Buff and Shine: After a couple days of curin’, wet-sand with 2000-grit paper to nix any imperfections. Use a spray bottle to keep it wet. Then grab a polishin’ compound and buff it out ‘til it shines. Finish with wax or sealant to protect your hard work.
Man, the first time I did this, I was sweatin’ bullets thinkin’ I’d ruin my car. But when I stepped back and saw that fender lookin’ factory-fresh, I felt like a damn hero. It’s a grind, but worth it.
When to Say “Screw It” and Call a Pro
Look, I’m all about DIY, but sometimes you gotta know when you’re outta your league. I tried fixin’ a fender once that was so warped it looked like modern art, and I just made it worse. Here’s when to hand it off to a shop:
- Metal’s super stretched or misaligned bad.
- You need more than a quarter-inch of filler—too much and it won’t hold.
- Big rust holes or cracks wider than a couple inches.
- You ain’t got the fancy tools for pullin’ dents or shapin’ metal.
- Custom paint or graphics that need blendin’ into other panels.
Don’t be stubborn like I was. Payin’ a pro might sting, but it’s better than botchin’ your ride permanent-like.
Keepin’ Them Fenders Safe: Prevention Tips
Fixing bacon fenders is a pain, so let’s talk about keepin’ ‘em from gettin’ messed up again. An ounce of prevention’s worth a pound of Bondo, ya know? Here’s what I do to protect my ride:
- Mudflaps: Slap some behind your tires to block road junk from hittin’ the fenders.
- Tire Check: Keep ‘em inflated right so they don’t rub and heat up the panels on turns.
- Protective Film: Clear bra or film on high-impact spots can save you a lotta grief.
- Regular Washes: Clean your car often and wax every few months to shield the paint.
- Garage It: If you can, park inside to dodge dings, dents, and weather wear.
I started doin’ this stuff after my last repair, and my fenders have stayed pretty darn pristine. Little habits go a long way.
Why Fixin’ Bacon Fenders Matters More Than You Think
Let’s get real for a sec. Fixin’ your fenders ain’t just about makin’ your car look good—though that’s a big part of it. When your ride looks sharp, you feel sharp. I can’t tell ya how many times I’ve rolled up to a spot with my car all polished, fenders smooth as butter, and folks givin’ me props. It’s pride, man. Plus, damaged fenders can hide bigger issues like rust or structural damage that might bite ya later if ignored.
And don’t forget resale value. If you ever wanna sell your whip, buyers ain’t gonna drop cash on a car with bacon fenders screamin’ “neglect.” Takin’ the time to fix ‘em now can save you headaches down the road. I’ve flipped a couple cars in my day, and trust me, a clean exterior makes all the difference.
Extra Tips and Tricks I’ve Picked Up Along the Way
I’ve been messin’ with cars long enough to learn a few sneaky hacks for dealin’ with bacon fenders. These ain’t in no manual, just stuff I’ve figured out through trial and error:
- Plunger Trick for Small Dents: If you got a lil’ dent, wet a plunger and stick it on there. Pull hard—sometimes it pops right out. Worked on my buddy’s ride last summer.
- Guide Coat for Sandin’: Spray a light mist of cheap black paint over filler before sandin’. It shows ya where the high and low spots are as you sand it off. Game-changer.
- Don’t Rush Paintin’: I always wanna slap on paint quick, but waitin’ for each coat to dry proper makes the finish way better. Patience, my friend.
- Check Your Work Often: Step back every few minutes to eyeball the fender from different angles. It’s easy to miss a wave when you’re up close.
These lil’ nuggets have saved my bacon (ha!) more times than I can count. Try ‘em out next time you’re in the garage.
Wrappin’ It Up: Get Them Fenders Lookin’ Right!
So there ya have it, fam—a full-on guide to fixin’ them pesky bacon fenders and gettin’ your ride back to turnin’ heads for all the right reasons. We’ve covered what causes that wavy mess, how to scope out the damage, the tools you’ll need, a step-by-step fix, and even how to keep it from happenin’ again. I know it’s a lotta work, but there’s nothin’ like the feelin’ of steppin’ back and seein’ your car lookin’ like it just rolled off the lot.
Got a fender story of your own? Maybe a repair gone wrong or a tip I didn’t mention? Drop it in the comments—I’m always down to swap garage tales. And if you’re takin’ on this project, good luck, and don’t be afraid to mess up a lil’. That’s how we learn. Now go get them fenders fixed and cruise with pride!
Find a Caliber Collision location
We are the nations largest collision repair provider, with 1,800+ convenient locations in 41 states – and growing. Find the nearest location to get more details about your local Caliber Collision Centers services, hours and more.
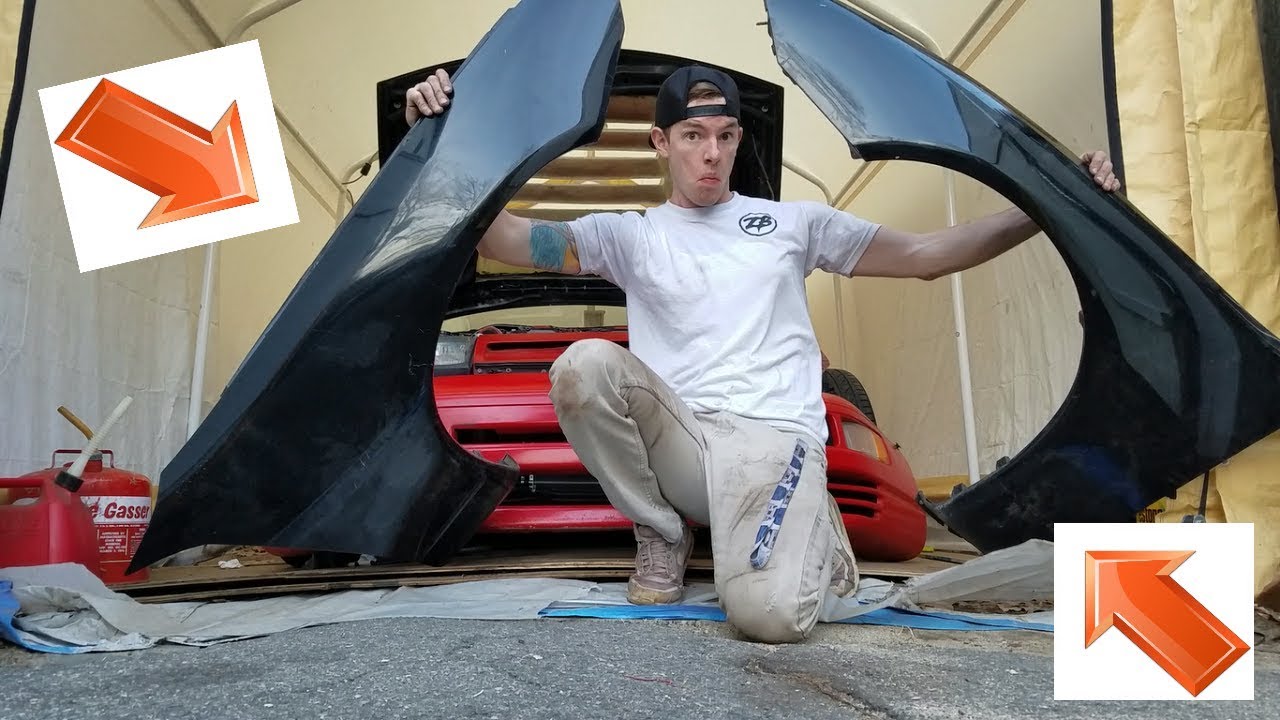
Salvaging Genesis Bacon Fenders
FAQ
How to fix a ripped fender?
For repairing car fender cracks, professionals often use plastic fillers and paint. These fillers, with their paste-like consistency, are skillfully applied to the crack and then shaped to match the fender’s original contour.
How to fix a scratch on a fender?
Start by wet sanding the scratch with 800 grit sand paper and wipe up the water/paint dust mixture with a microfiber cloth. Wait five minutes to ensure the surface is completely dry. Use a fine brush to apply touch up paint and let dry. Then repeat the process with clear coat paint.
How to pull fenders without a tool?
There’s another method that’s similar, but it uses a baseball bat. It works in largely the same way as the Eastwood tool, except you leave the wheel and tire on the car, and roll a baseball bat over the top of the tire so that it presses the inner lip of the fender or quarter panel up and in.
What is fender repair?
The first step in fender repair is a thorough assessment to determine the extent of the damage. An auto body technician will inspect the fender for dents, scratches, cracks, or structural issues. 2. Dent Removal and Reshaping Paintless Dent Repair (PDR): This technique is used for minor dents where the metal or plastic is not severely creased.
What happens if a Fender is damaged?
When a fender gets damaged due to a collision, weather conditions, or everyday wear and tear, it can affect the car’s appearance and functionality. Knowing how fender repairs work and when replacement is necessary can help car owners maintain their vehicles in top condition. Minor Collisions – Fender benders often lead to dents and scratches.
What causes dents & scratches on a Fender Bender?
Minor Collisions – Fender benders often lead to dents and scratches. Parking Lot Accidents – Accidental bumps from other cars or objects. Weather Conditions – Hail, heavy rain, or debris carried by strong winds. Rust and Corrosion – Prolonged exposure to moisture and road salt. Dents and Dings – Small indentations caused by low-impact collisions.
How do you fix a broken Fender?
Body Filler and Sanding: Larger dents may require body filler to restore the fender’s shape, followed by sanding to achieve a smooth finish. 3. Crack and Split Repair Plastic Welding: For plastic fenders, heat welding can fuse the cracks back together.
Where can I get a good Fender Repair & Replacement?
For high-quality fender repairs and replacements, it’s essential to choose an experienced auto body shop. Victory Auto Body and Paint in Burbank, California, offers expert fender repair services using state-of-the-art equipment and skilled technicians. A damaged fender not only affects your vehicle’s aesthetics but also its functionality.
When should a Fender be replaced?
Sometimes, fender damage is too severe for repairs, and replacement becomes the best option. A fender should be replaced if: It has large cracks or extensive rust. The damage has affected its structural integrity. The cost of repairs is higher than a replacement. Removing the Damaged Fender – The old fender is carefully detached from the vehicle.